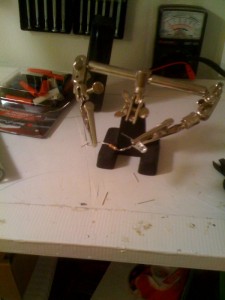
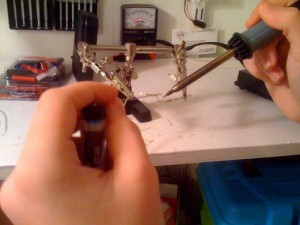
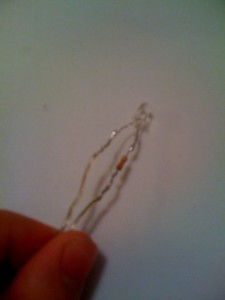
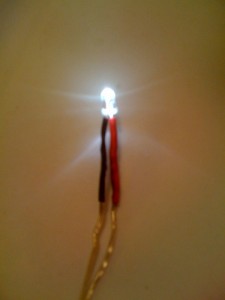
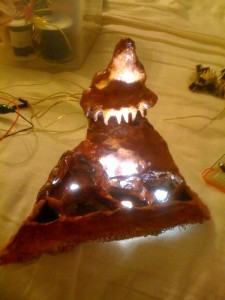
Now it’s time to get the electronics integrated into the box. I first got the resistor soldered to the positive lead of the LED and then connected both positive and negative leads to two small diameter 3 foot wires. Then I finished it off with some heat-shrink to insulate everything. Finally I arranged the lights to illuminate the formations the best.
Materials used:
- white LEDs (18x)
- 220 Om resistors (18x)
- wire (18x)
- solder
- soldering iron
- helping hand
