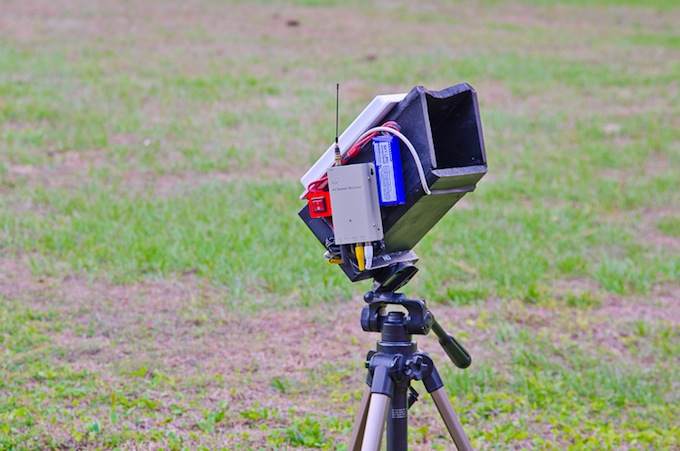
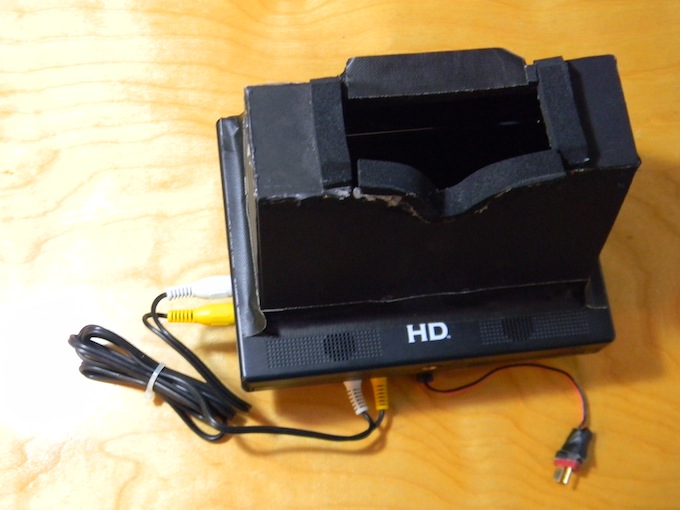
Well I think it is time to upgrade my old ground station. It has enough problems that I don’t want to deal with them any more so I decided to fix them. The two major things that needed to be change were the battery in the screen would take forever to charge and when I did go out to fly, the internal circuitry drains the battery so it is always low when I go flying, and then it cuts out and I am blind. The other major problem is that the shroud that blocks out the sun, is to close to the screen so I can’t see the full screen at once. Some of the other things are: I would like to have a switch so I can turn on and off the receiver without unplugging anything, and I want to incorporate my new 1.3ghz patch antenna that I bought. Ok, so lets fix the battery first.
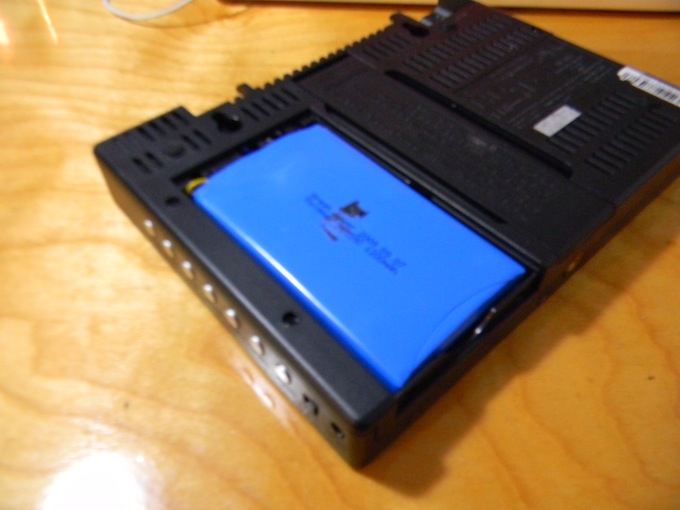
So, it’s kind of hard to see but the existing battery is a 1200mah 2 cell lipo, which is great so can use a normal 2 cell from my planes to power the screen.
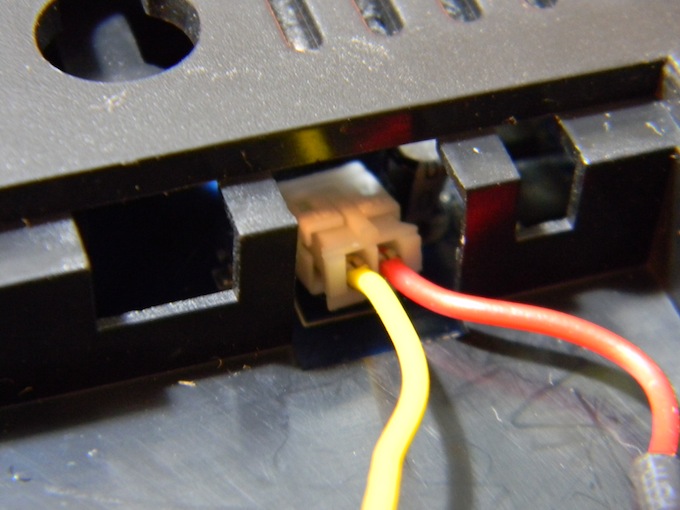
The conector needs to be changed and instead of soldering onto the circuit board, I think i’m just going to make an adapter with this connector and a deans plug.
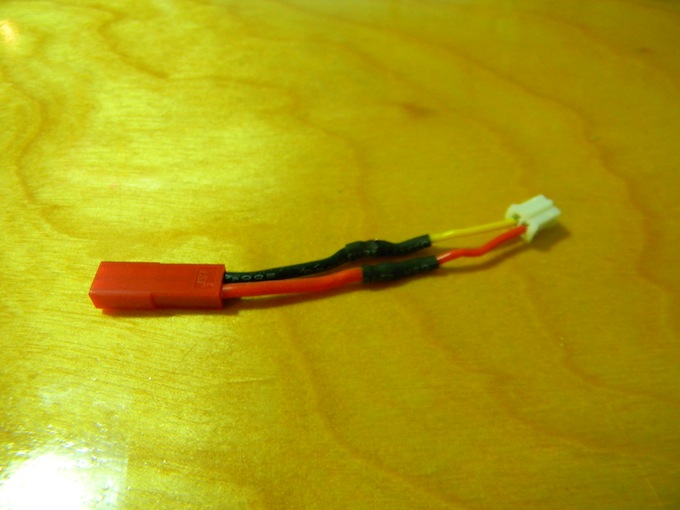
That was easy!
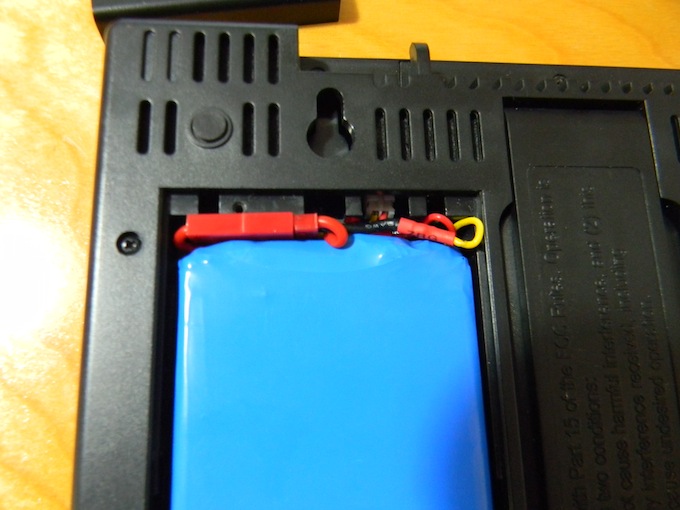
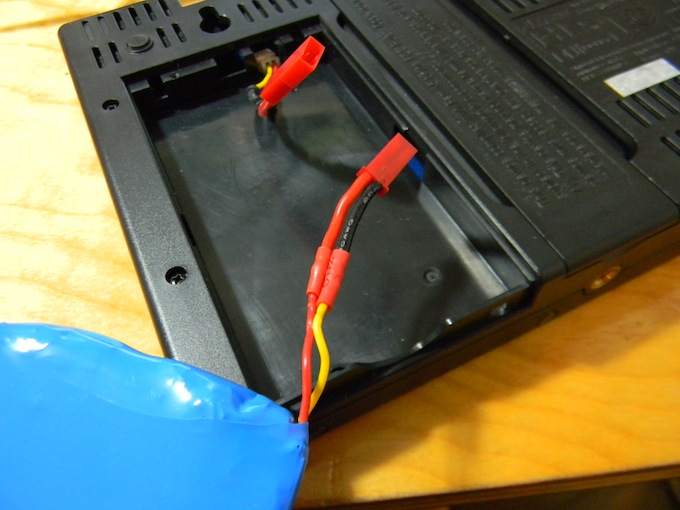
I also soldered on a deans connector onto the old battery so I can still use it. Well, lets fix the shroud next, shall we?
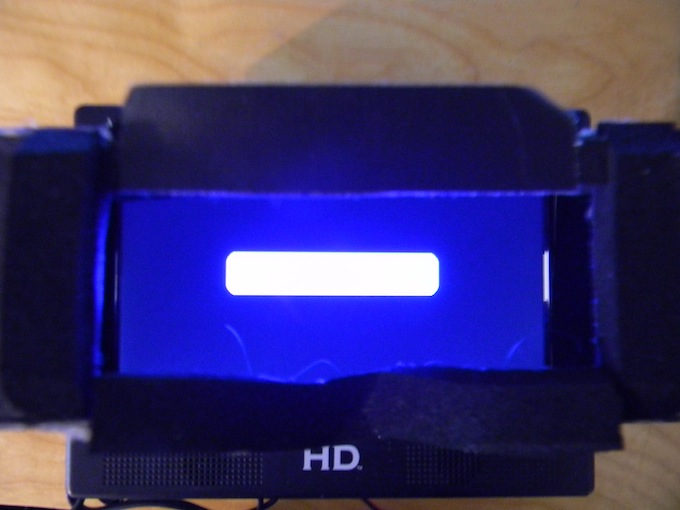
I don’t know what I was thinking when I designed this thing. The shroud also forces me put the whole thing at eye level, and with a tripod, it makes looking in it very awkward.
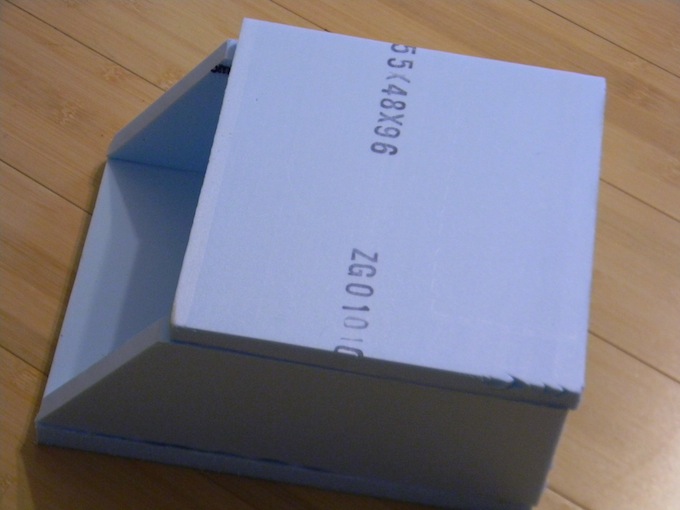
So I measured out some half inch blue core foam and made a shroud that was far enough away from the screen so I could see the monitor clearly. It also gave me room to mount the patch antenna on top.
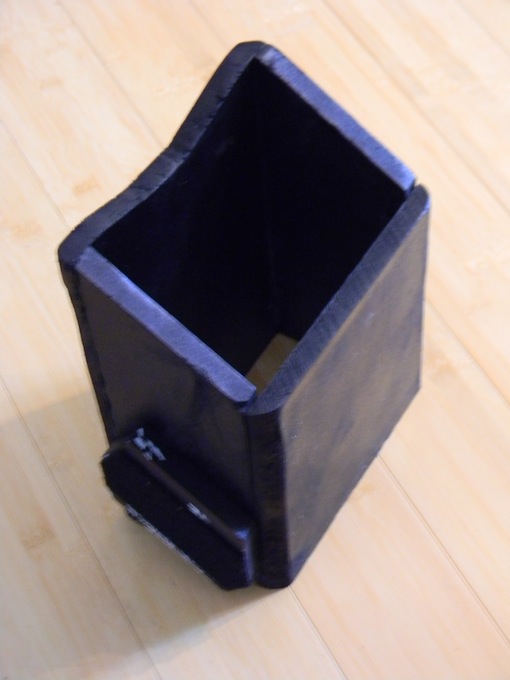
After some sanding and glueing, I spray painted it black so that light wouldn’t reflect off the inside walls.
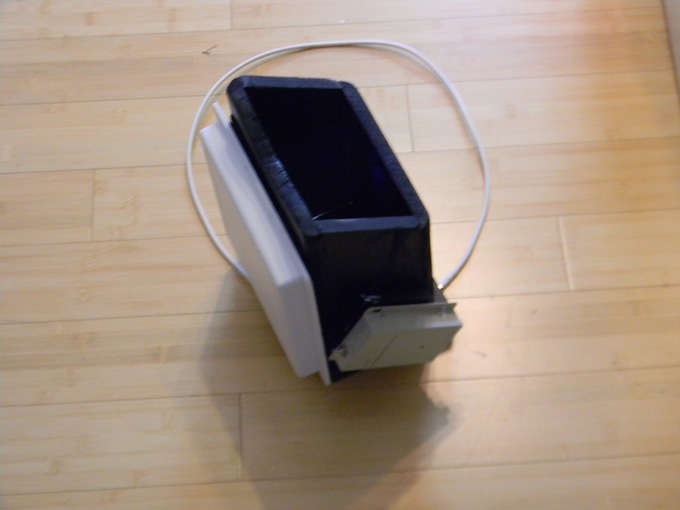
Then I started to attach some of my gear, including: hot gluing on the screen, and mounting the patch antenna with Velcro.
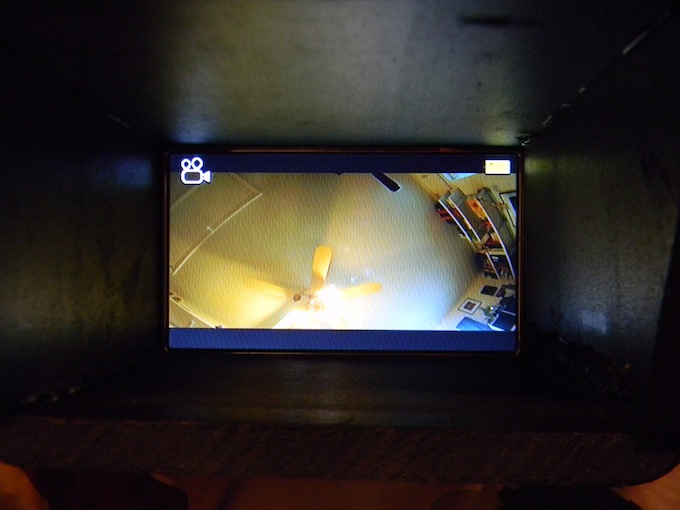
I just did a test to make sure the everything was wires up right.
Now to take care of the switch, I 3D Printed a box to hold the wires and the switch for the battery that will power my receiver.
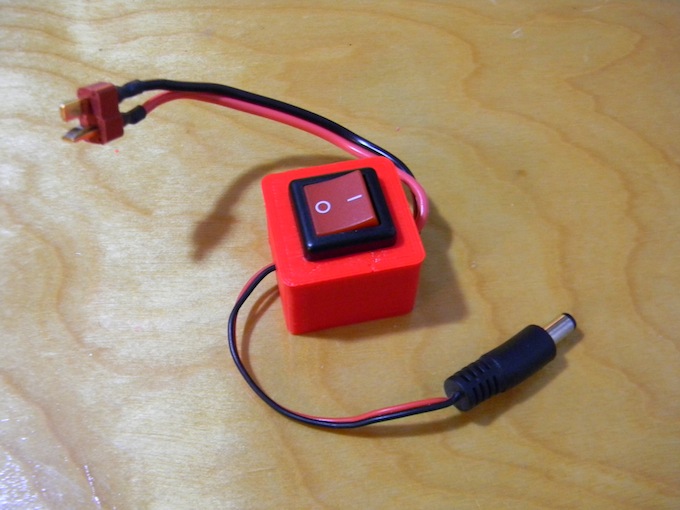
I really happy about how the switch came out. It looks really good.
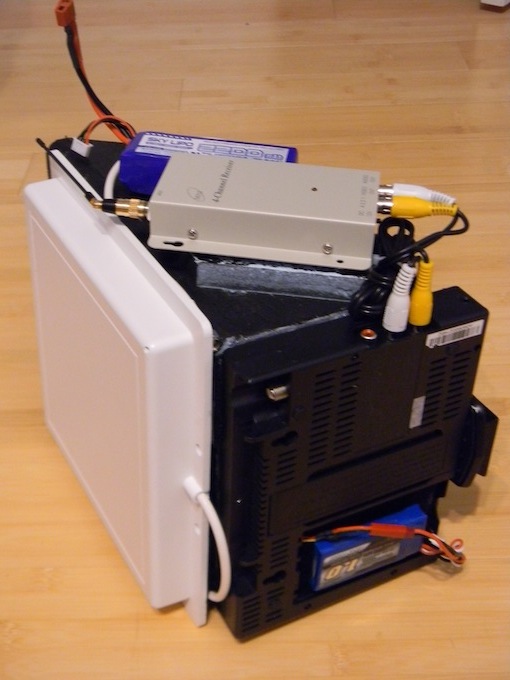
I mounted everything else while I made the switch. The last thing I need to do is mount it.
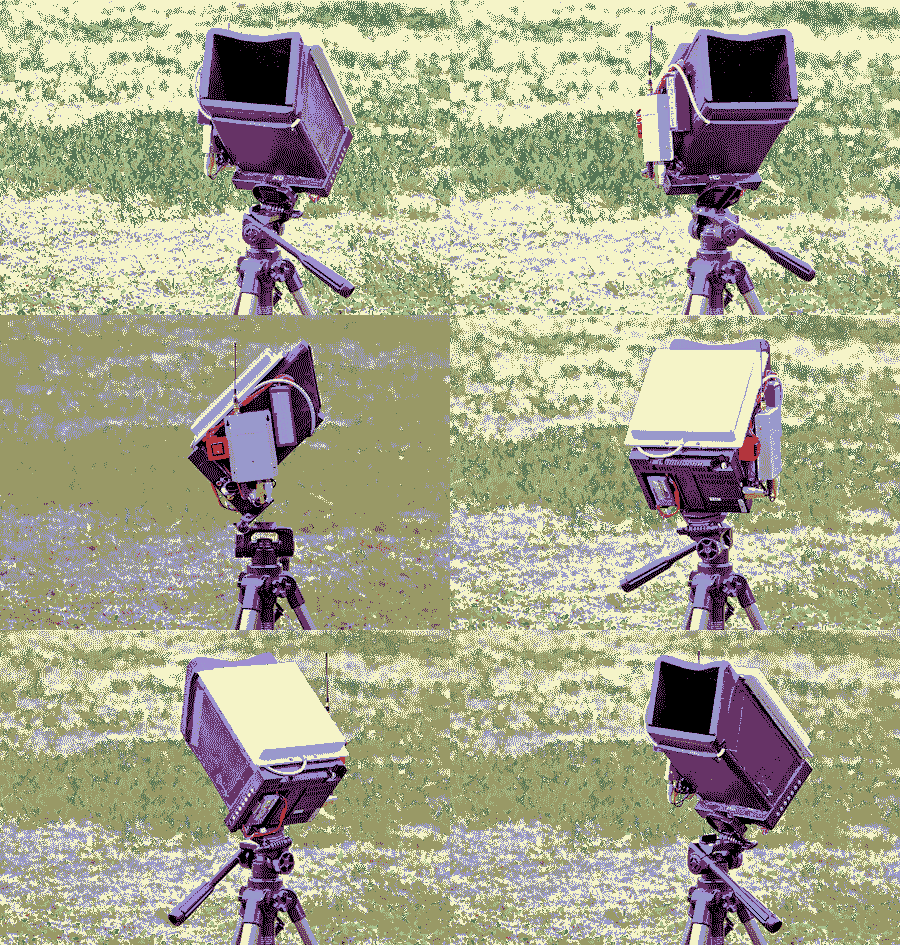
Tah Dah!! It’s all done and it works great! I can now choose between long range FPV (with the patch antenna) and short range FPV (with the omni directional antenna). Unfortunately, I don’t have anything to fly right now. I am waiting for a new controller board for my tricopter to come in the mail and I am waiting for a camera to come in the mail for my FPV40. More to Come!

Please could you give me more info bout this hd mointor.
Is it cheap to get it?
It is $90 and here is the link: http://www.readymaderc.com/store/index.php?main_page=product_info&cPath=11_22&products_id=574 If you have the budget though I would recommend a pair of FatShark video goggles, they cost around $300